Introduction
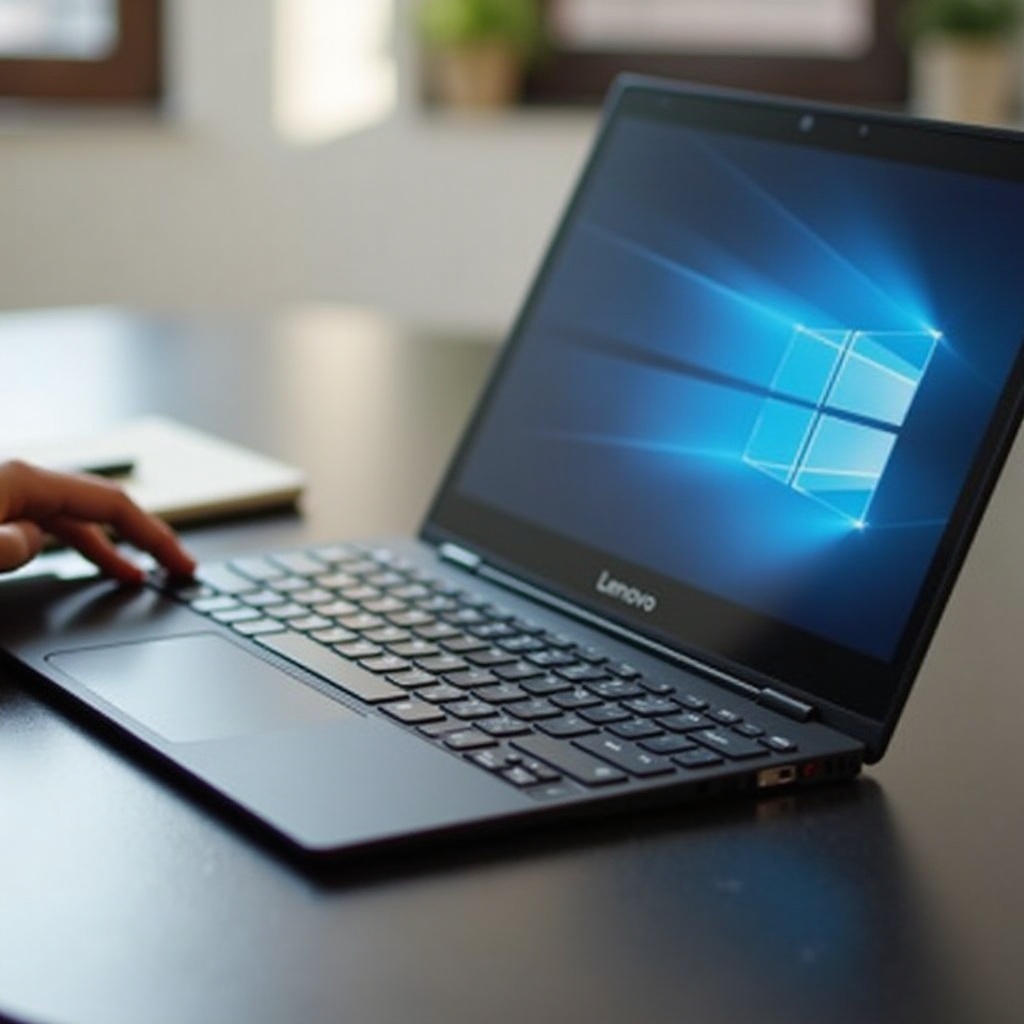
Your computer’s performance may be compromised by one overlooked issue—a dirty motherboard. Dust and grime accumulate over time, leading to overheating and potential system failures. Cleaning your motherboard is pivotal to prevent such problems, ensuring a faster and more reliable machine. This comprehensive guide covers the importance of regular cleaning, preparation steps, a detailed cleaning process, common mistakes to avoid, reassembly tips, and post-cleaning checks. Whether you’re a tech enthusiast or a novice, following these guidelines will help you maintain peak system performance.
Why Cleaning Your Motherboard is Important
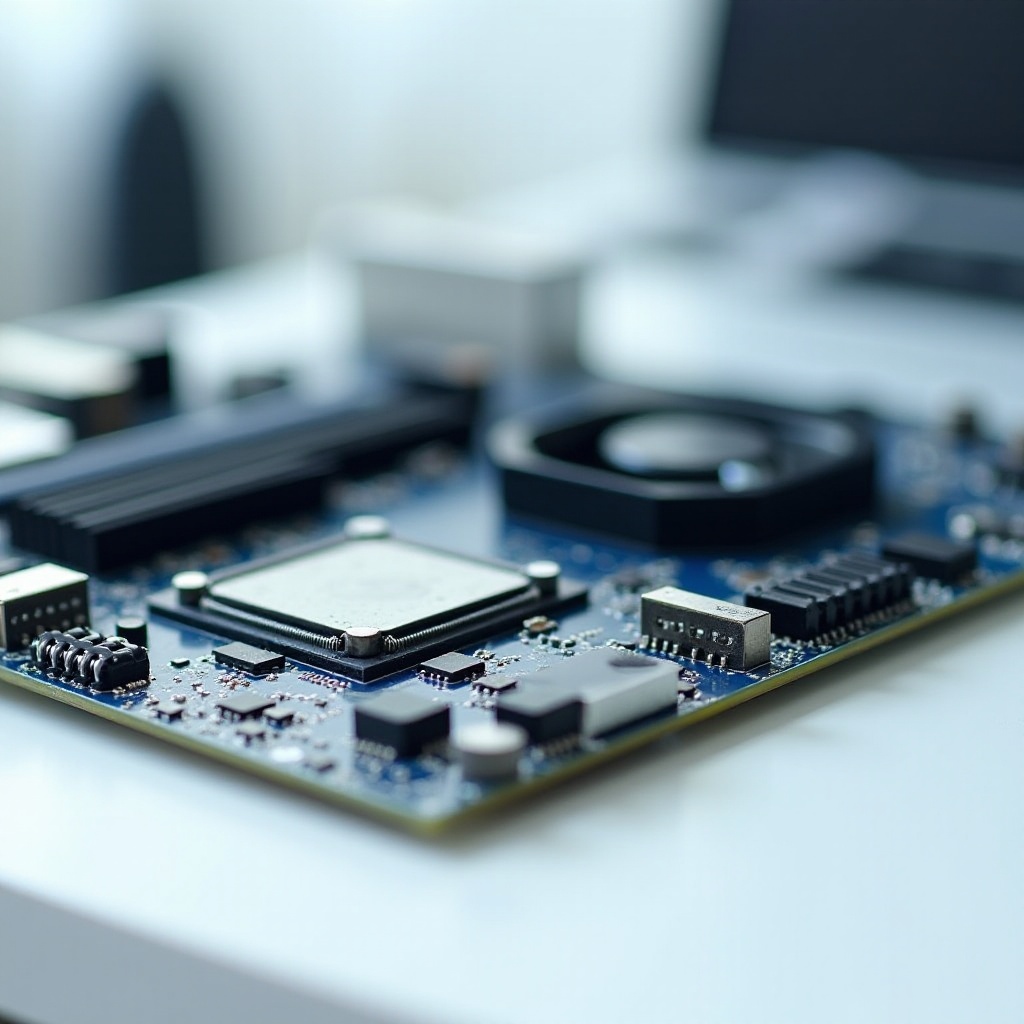
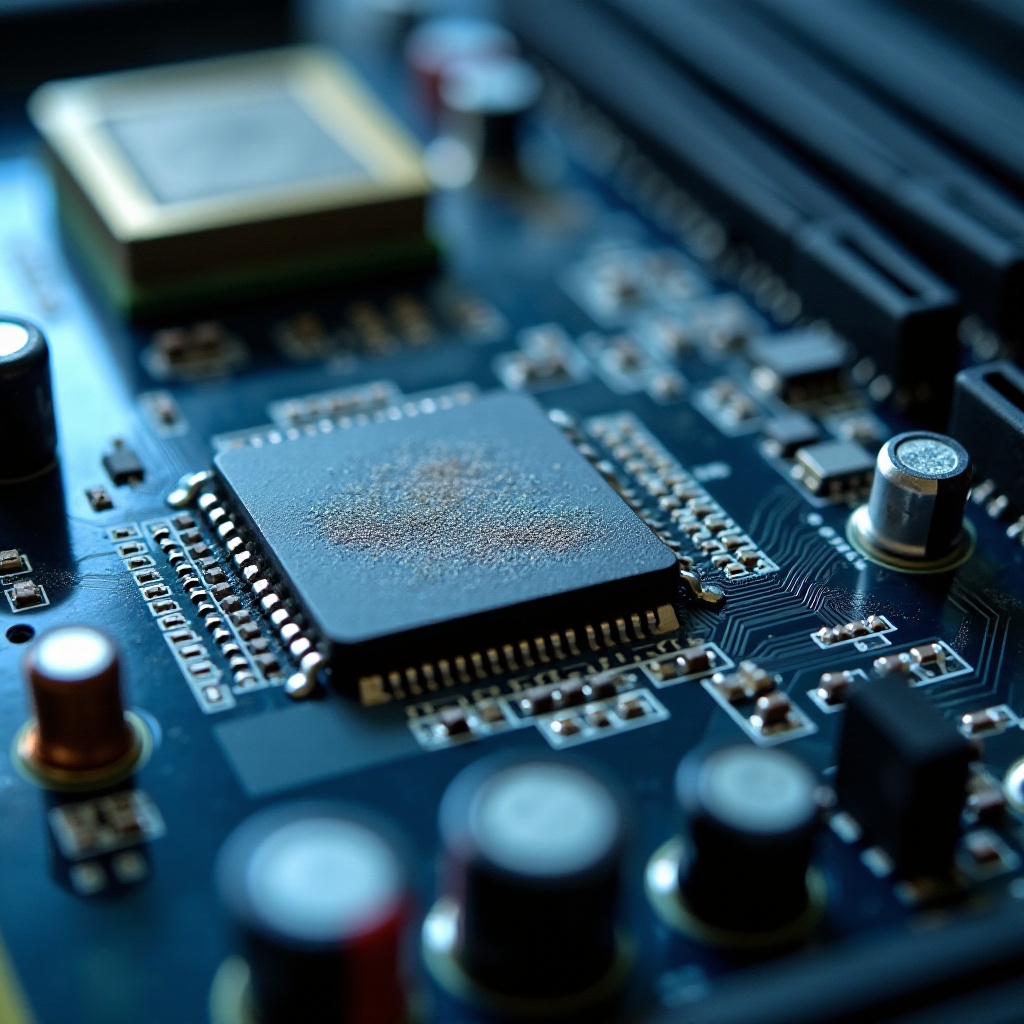
The motherboard is your computer’s central hub, facilitating the smooth operation of all components. Dust buildup can lead to poor airflow, causing overheating and component failures. A clean motherboard ensures efficient cooling, thus prolonging the life of your computer. Furthermore, it prevents electrical shorts from settled debris, keeping your system running smoothly. Regular cleaning boosts performance and protects your investment by extending the lifespan of your hardware.
Preparing for the Cleaning Process
Preparation is vital to ensure a safe and effective cleaning process.
Gathering the Necessary Tools
You’ll need:
– Compressed air canister
– Isopropyl alcohol (at least 90%)
– Microfiber cloths
– A small brush
– Anti-static wrist strap
Ensuring Anti-Static Measures
Static electricity can damage delicate components. To minimize this risk, always wear an anti-static wrist strap. If possible, work on an anti-static mat.
Setting Up a Safe Work Environment
Choose a well-lit area with a clean, flat surface. Ensure the space is dust-free and temperature-controlled to protect your components during cleaning.
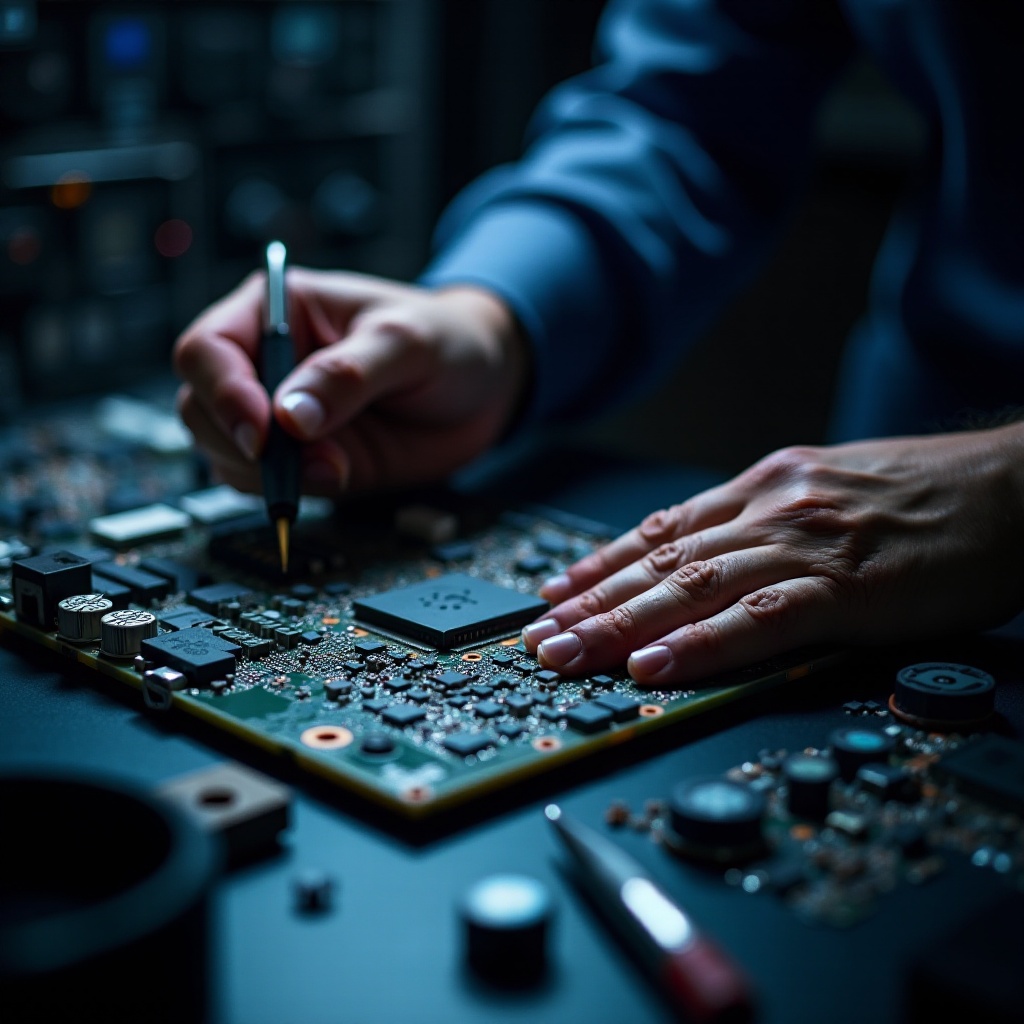
Step-by-Step Motherboard Cleaning Guide
Now, let’s delve into the safe and effective process of cleaning your motherboard.
Powering Down and Disassembling the Computer
- Turn off the computer and unplug it from the wall.
- Disconnect any peripheral devices such as keyboards or mice.
- Open the computer case by removing screws or latches. Refer to your computer’s manual if needed.
Removing Dust with Compressed Air
- Keep the canister upright to prevent moisture from spewing out.
- Direct short bursts of air over the motherboard, paying attention to corners and slots where dust gathers.
- Use a small brush for hard-to-reach areas, following up with air bursts to remove any dislodged dust.
Cleaning Stubborn Spots with Isopropyl Alcohol
- Slightly dampen a microfiber cloth with isopropyl alcohol.
- Gently wipe over stubborn grime and spots on the motherboard.
- Avoid soaking the cloth excessively. Focus on areas that appear greasy or particularly dirty.
- Let the motherboard air dry completely before proceeding with reassembly.
Common Mistakes to Avoid
To avoid damaging your motherboard, steer clear of these mistakes:
- Don’t use a regular vacuum cleaner, as it can generate static electricity.
- Avoid unnecessary handling of components to prevent static discharge.
- Refrain from using ordinary household cleaners which can harm delicate components.
- Be prudent with liquid cleaners; more is not better, apply sparingly.
Reassembling Your Computer
Once cleaned, it’s time to reassemble your computer.
- Carefully place the motherboard back into the case, aligning it with the screw points.
- Reattach screws, ensuring everything fits securely. Double-check connections for components like RAM and graphics cards.
- Close the computer case, secure it with screws, and reconnect peripheral devices.
Post-Cleaning Checks and Tests
It’s crucial to verify that your computer operates correctly post-cleaning.
Visual Inspection of Components
Look over all components for any damage or leftover debris within the case.
Ensuring Proper Cable Connections
Ensure that all cables, especially power and data cables, are firmly connected.
Powering On and Functional Testing
- Reconnect the power supply and turn on the computer.
- Listen for unusual noises, and ensure the boot process completes without any errors.
- Monitor performance metrics to confirm everything functions as expected.
Preventive Maintenance Tips
Maintain your motherboard’s condition with ongoing maintenance:
- Dust the computer case monthly to prevent dust buildup.
- Avoid operating computers on carpets, which can increase dust levels.
- Ensure adequate ventilation in your workspace.
Conclusion
Regular cleaning of your computer motherboard is crucial for sustaining performance and extending longevity. With proper tools and instructions, you can ensure your system runs efficiently and healthily.
Frequently Asked Questions
How often should I clean my computer motherboard?
Clean your motherboard every six months to a year, depending on your environment and usage.
Can I use a regular household cleaner on my motherboard?
No, use only isopropyl alcohol or specialized electronics cleaning products to avoid damaging components.
What should I do if my computer won’t start after cleaning?
Double-check all connections and ensure that no components were dislodged or damaged during cleaning.